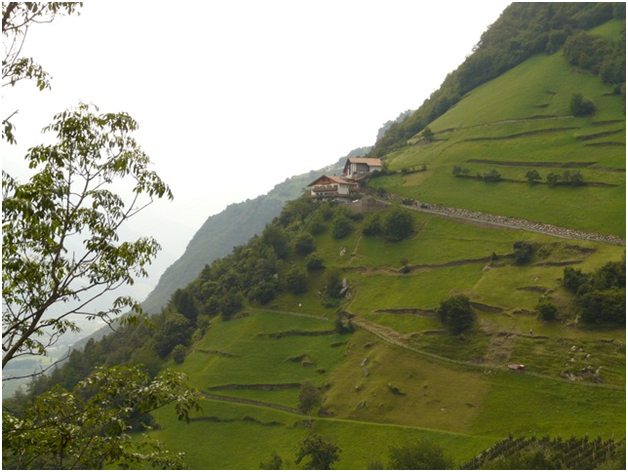
You’ve grown tired of soil erosion destroying your slope vegetation. You’ve ordered an erosion control blanket and can’t wait to install it to minimize soil erosion. But as you go to install the product on your plantation, you realize that you don’t know how to approach the problem.
This is a common problem that most people face. To address this common problem, we’ve compiled a definitive guide that explains the installation process and gives the necessary details to prevent confusion.
Your Installation Guide:
We’re only going to address the installation of soil erosion control blankets on slope vegetations. For installation on other terrains, please visit our comprehensive installation guide webpage.
With that out of the way, here’s how you should install our soil erosion control blankets on slopes.
Step 1 – Preparation:
Make sure that the surface of the soil is smooth as it can be by removing all rocks and pebbles (as this seriously impairs the functionality of the erosion control blanket). Once the surface is as smooth, it’s time for you to apply fertilizer and lime, and plant your seeds.
Step 2 – Anchoring the Blanket:
Begin the process of installing the blanket on your slope by anchoring it. Ideally, you should find an anchoring spot at the top of the slop as this simplifies proceedings. Furthermore, the anchor trench should be at least 6 inches deep and 6 inches wide.
Step 3 – Blanket Installation:
With the blanket anchored in place, begin rolling it down the slope. You can choose to anchor it across the slope but we don’t recommend this technique as the constant gravitational pull can move the protective layer out of place.
Once you’ve rolled out the erosion control blanket, it’s important to staple it into place. This can be achieved by anchoring the edges using either metal staples or pine pegs, after every 2 feet.
Step 4 – Blanket Splicing:
If blanket splicing is required, we suggest proceeding with caution as the slightest miscalculation can lead to unpleasant results. As a rule of thumb, you should ensure that each blanket has an overlap of at least 8 inches.
Step 5 – Finishing Touches:
Once your soil erosion control blanket completely covers your vegetation, it’s time to add the finishing touches. Simply create another anchoring spot at the bottom of the slope. Ideally, this anchor should also be 6 inches deep and 6 inches wide, as it practically guarantees that your soil erosion blanket will be held in place.
And there you have it, all the information you need to install a soil erosion control blanket on your slope vegetation. If you require comprehensive protection against erosion and sedimentation, we highly recommend visiting our online store.
Our soil bioengineering products range from simple coir logs and coir wattles to intricate blankets and mats that minimize erosion.
Contact us today to give your land the protection that it deserves against soil erosion and sedimentation.

